
This article describes how to create an RDS MySQL backup and restore it from the backup using the Amazon Web Services console.
Create a MySQL RDS backup and restore on Amazon Web Services (AWS).
Before starting, consider the following points:
Go to AWS console and navigate to RDS service, from the left panel select the “Databases” option. Select the database that you want to backup and click on “Actions” then on “Take snapshot” (Fig. 1).

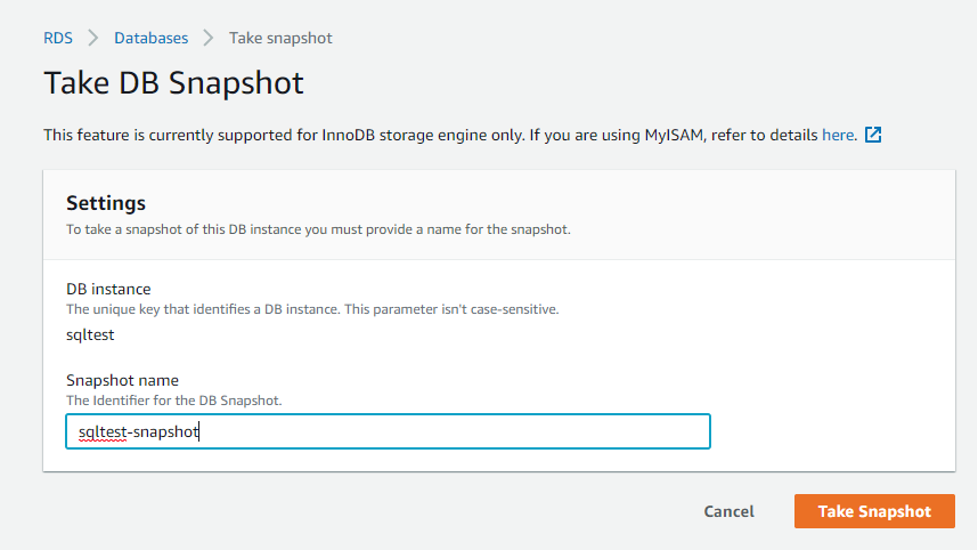
In the next screen, just type a name for the snapshot and finally click on “Take Snapshot” (Fig. 2)
Next, you will be redirected to the Snapshots dashboard, it will show you the information of your snapshot, and the status will be “creating” (fig. 3).
After a few minutes, your snapshot will be created (the time it takes to create the snapshot depends on the size of your database).
Note: if your database is configured to Multi-AZ you will not suffer any I/O suspension since the backup is taken on the standby, otherwise you may suffer this issue.

In RDS service click on Snapshots from the left menu.
Here will be listed all the snapshots that you have taken (fig. 3), select the one that you want to restore, and click on “Actions” and then on “Restore Snapshot” (fig. 4).

You will be redirected to the Restore DB Instance screen (it is really similar from where you created a new instance) and you have to input the characteristics and settings for the instance that will be created from the snapshot.
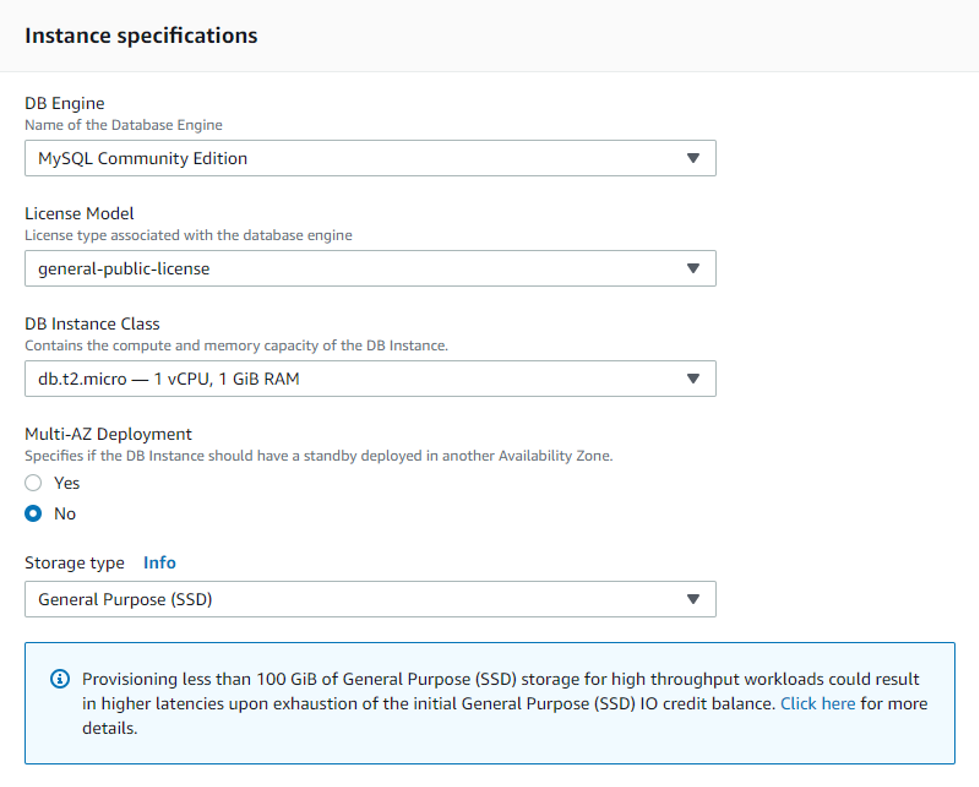
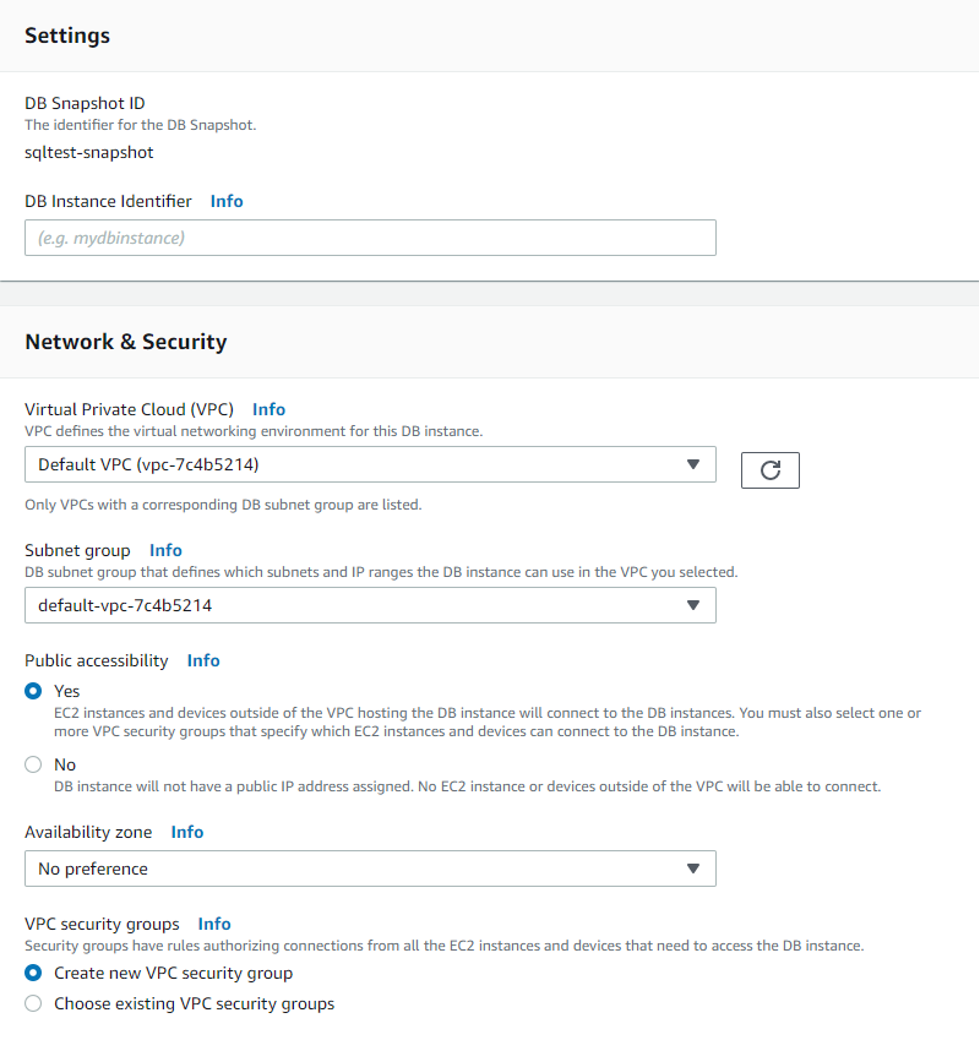
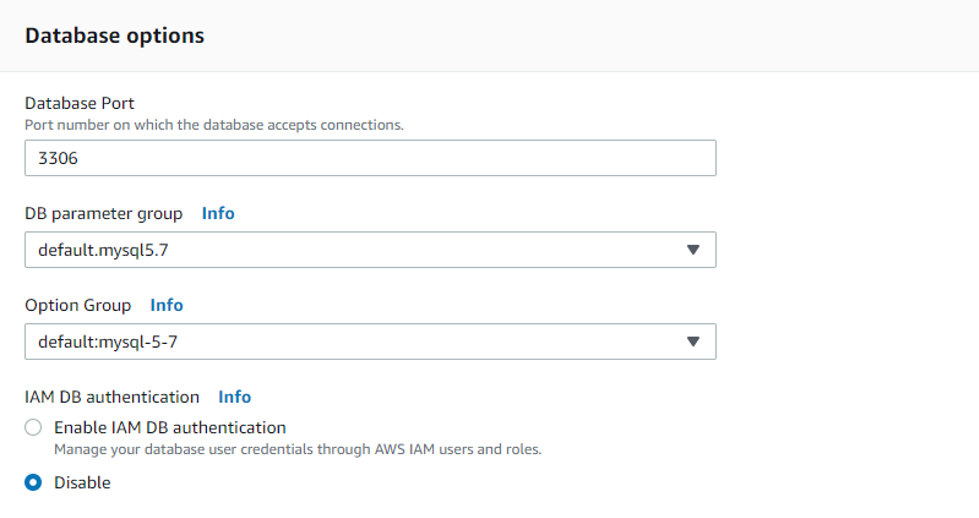
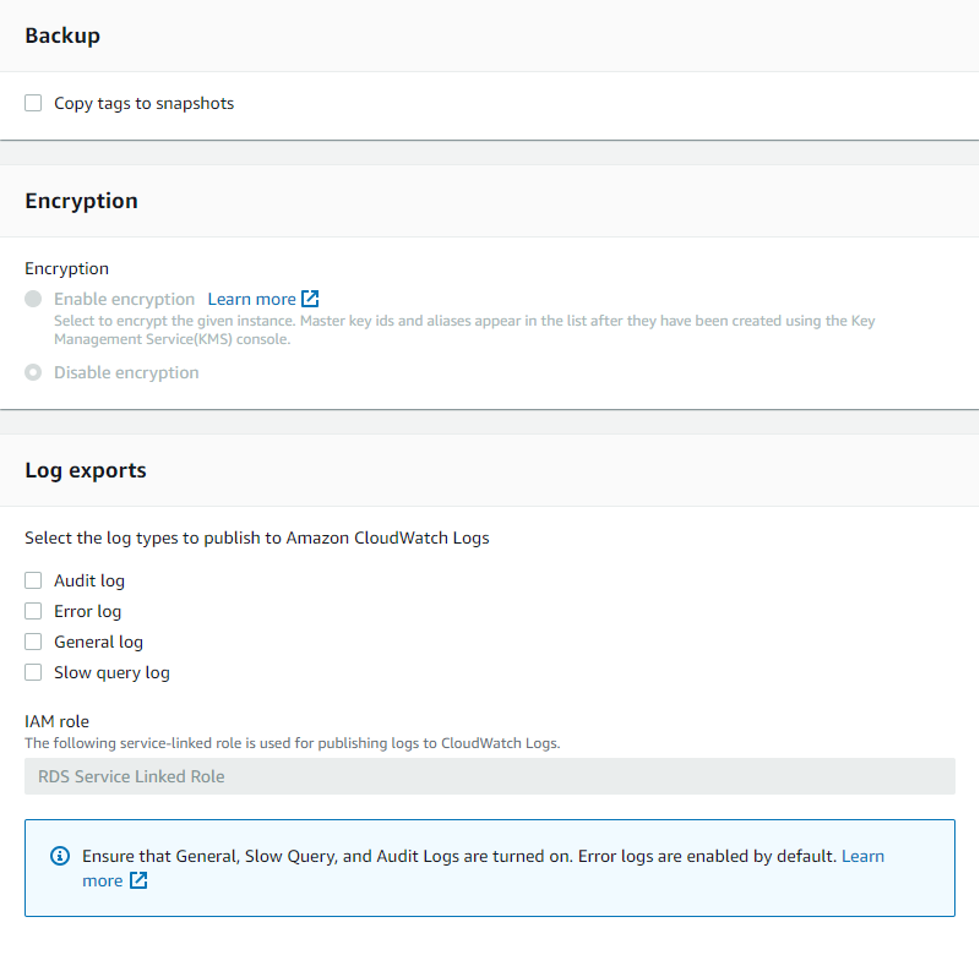

When you are satisfied with the specifications click on “Restore DB Instance”.
After this, you will be redirected to the Databases section and it will show that the new instance is being created, after a few minutes the instance will be up and running.
In this article, we showed how to create a snapshot of an RDS instance and to restore a database from a snapshot in AWS using its console. Applying these steps, you can have your own backups and restores in an easy, fast, and secure manner when you are using AWS Relational Database Service.